WordPress Security
Install & connect Predax Security
Install the plugin from WordPress.org, add your API key, and confirm it is connected.
1. Install the plugin
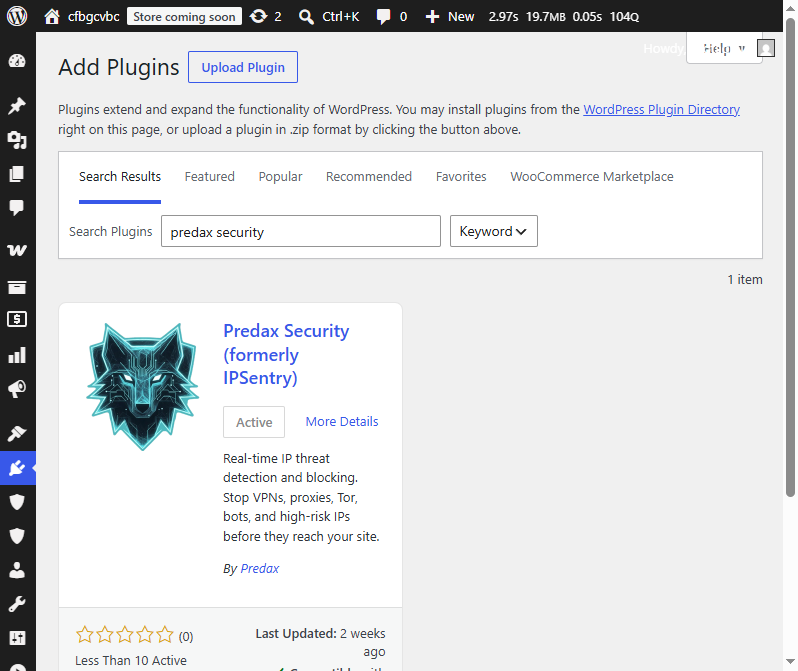
In your WordPress admin, go to Plugins → Add New and search for "Predax Security". Click Install Now, then Activate.
2. Connect your account
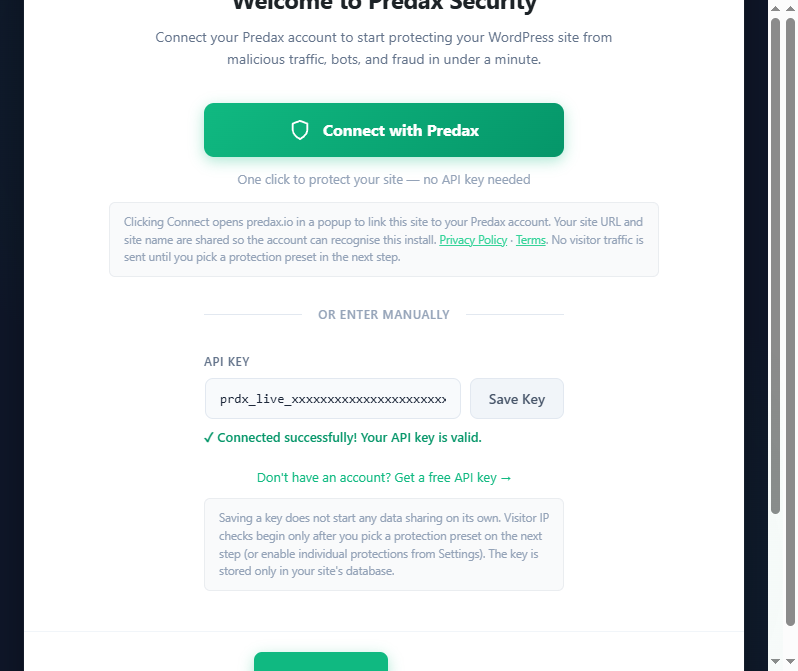
Open Predax Security → Settings. You have two options:
- Connect with Predax (one click) — opens predax.io to link this site automatically. No API key to copy.
- Enter a key manually — go to your API keys, click Create new key, copy it (it is shown once), paste it into the API Key field, and click Save. Then click Test Connection — you should see "Connected successfully".

Saving a key does not start any blocking on its own. Visitor IPs are only checked once you turn on a protection in the next step.
3. Pick your protection level
Run the Setup Wizard (Predax Security → Setup Wizard) and choose a preset. See Recommended starter settings.